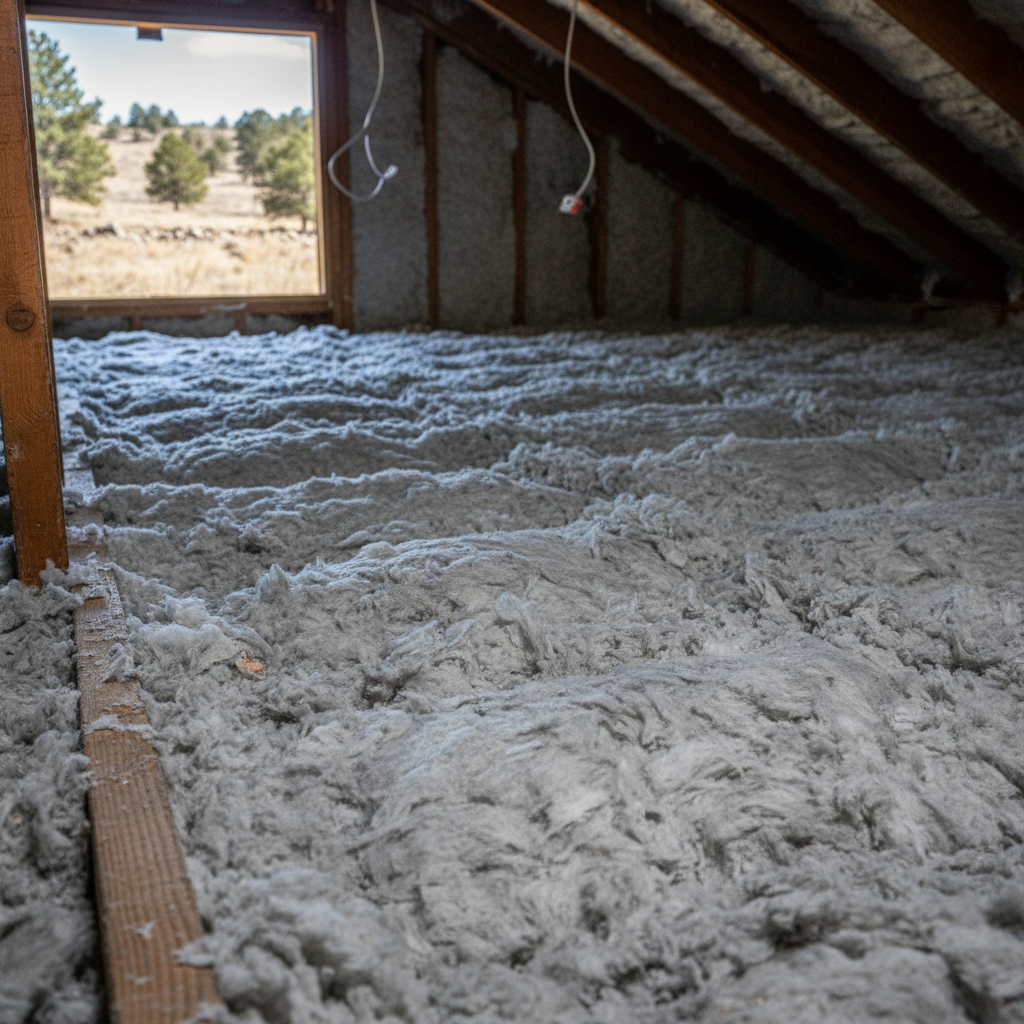
Thinking About DIY Blown-In Insulation?
So, you're eyeing your attic and figuring it's time to beef up that insulation, huh? Blown-in insulation, whether it's cellulose or fiberglass, really is a fantastic way to make your home cozier and shave a chunk off those heating and cooling bills. It's especially good for getting into all those tight spots and weird corners. But before you rent that machine and buy a truckload of bags, let's just talk about what you're really getting into. I've seen plenty of DIY jobs over the years; some were great, others—well, let's just say they needed a professional cleanup.
First off, can you do it yourself? Absolutely. Is it always the best idea? Not necessarily. It really depends on how comfortable you are, what kind of attic you have, and how much you value your weekend. For a simple top-off in an attic that's easy to get around in, sure, you can probably handle it. But if you've got a really old house, maybe one of those charming Victorians downtown with all sorts of odd angles and hidden spaces, or if you're dealing with existing insulation that's moldy or wet, then you might want to call in the cavalry.
Before You Start: The Prep Work
This is where most DIY projects either shine or totally fall apart. You can't just dump new insulation on top of old problems. Here's what you need to check:
- Inspect Your Attic: Get up there with a good flashlight. Look for any signs of water damage, mold, or pests. If you spot any of that, you've got to fix it first. New insulation won't magically solve a leaky roof or a rodent problem; it'll just cover it up, making things worse down the line.
- Seal Air Leaks: This is huge. Even the best insulation won't do a thing if air is just whistling through cracks and gaps. Look for openings around plumbing stacks, electrical wires, recessed lights, and framing. Use caulk, expanding foam, or even rigid foam board for bigger gaps. Don't forget the attic hatch! This step is critical, and honestly, homeowners often miss it.
- Measure Existing Insulation: Figure out what you've already got. Stick a ruler down into it. Here in Spearfish, with our cold winters and warm summers, you're generally aiming for an R-value of R-49 to R-60. That usually means about 16-22 inches of blown-in insulation, depending on the material you pick. Most machines come with a chart telling you how many bags you'll need per square foot to hit a specific R-value.
- Ventilation: Make sure your attic breathes properly. You definitely don't want insulation blocking soffit vents, which are super important for airflow. You might need baffles to keep the insulation from blocking those vents. Good ventilation prevents moisture buildup and keeps your roof healthy.
During the Project: Getting It Done
Okay, you've prepped, you've sealed, you've got your machine and bags. What's next?
- Safety First: Wear a good quality respirator, eye protection, gloves, and long sleeves. Attics are dusty, dirty places, and you don't want to be breathing in insulation fibers or old dust. It gets hot up there too, especially in the summer. Stay hydrated.
- Machine Operation: Read the instructions for the insulation blower machine. Seriously. They're all a little different. Usually, one person feeds the material into the hopper downstairs, and another person is up in the attic with the hose, blowing it in. Communication is key here.
- Even Coverage: The goal is to get it all spread out evenly. Don't just blast it all in one spot. Start from the furthest corners and work your way back towards the attic hatch. Try to keep the depth consistent. You can use rulers or markers to help gauge how deep it's getting as you go.
- Don't Compress: This is a really common mistake. Don't walk on the new insulation or squish it down. Blown-in insulation gets its R-value from the air trapped within its fibers. If you compact it, you reduce how well it works. Lay down plywood planks if you need to move around.
After the Job: What to Expect
Once the dust settles (literally), you should notice a difference pretty quickly.
- Improved Comfort: Your home should feel more consistent in temperature. Fewer drafts, less heat loss in winter, and a cooler house in summer.
- Lower Energy Bills: This is the big one. Give it a month or two, and you'll likely see a noticeable drop in your utility costs. That's the whole point, isn't it?
- Check-Up: Do a final visual check. Make sure you didn't miss any spots, and that your ventilation isn't blocked. If you had to remove any old insulation, make sure you got rid of that properly.
Look, if you're handy and your attic is straightforward, tackling blown-in insulation yourself can save you some cash. But if you're not comfortable with heights, tight spaces, or dealing with the sheer mess and effort, don't hesitate to call a professional. We do this stuff every day at Paradise Insulation Inc., and we've got the equipment and experience to get it done right, safely, and efficiently. Sometimes, that peace of mind is just worth the investment. Just something to think about.